Anaconda Distribution on Google Cloud
-==Disclaimer==-
This is just a custom guide to a INSTANCE on Google Cloud Platform, this could be more technical and advanced guide, if you do not understand or don’t know what you are doing, I kindly request you to take extreme caution. The components used here are billable. SKYDEVOPS/I/WE do not take any responsibility if the guide causes any serious damage or issues, which you have to take full responsibility.
Assuming that you have access to any cloud provider or any cloud instance like AWS, GCP, Rackspace, DigitalOcean, Linode etc. The instance used has the following specification. This is the Guide to install and configure Anaconda Distribution for Data Science Projects. This guide is a part of Devops for Data Science.
-==System Requirements==-
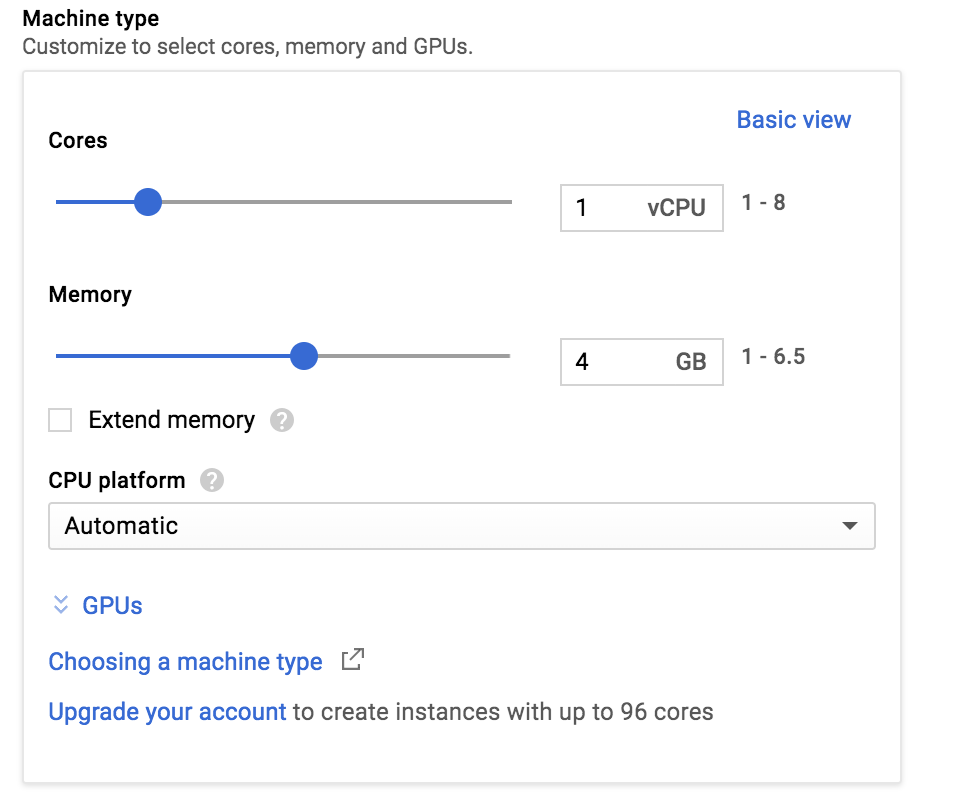
- CPU: 64-bit 2.8 GHz
- RAM: 4 GB (min)
- Storage: 30 GB.
- License: Free use & redistribution under the terms of Anaconda End User License.
- OS: Windows 7,8,10, macOS 10.10+, or, Ubuntu, RedHat, CentOS 6+, and others.
- System architecture: 64-bit x86, 32-bit x86 with Windows or Linux
-==GUIDE==-
- Part-01: Creating a Instance on the Google Cloud Platform
- Part-02: Installing and configuring Anaconda Distribution – Traditional
- Part-03: Updating and Upgrading Anaconda Distribution
-== Part-01: CREATING INSTANCE ON GOOGLE CLOUD ==-
Step-01: Name the Instance and select the Region and Zone

Step-02: Select the Machine Type
Step-03: Select the Boot Disk and Storage Options
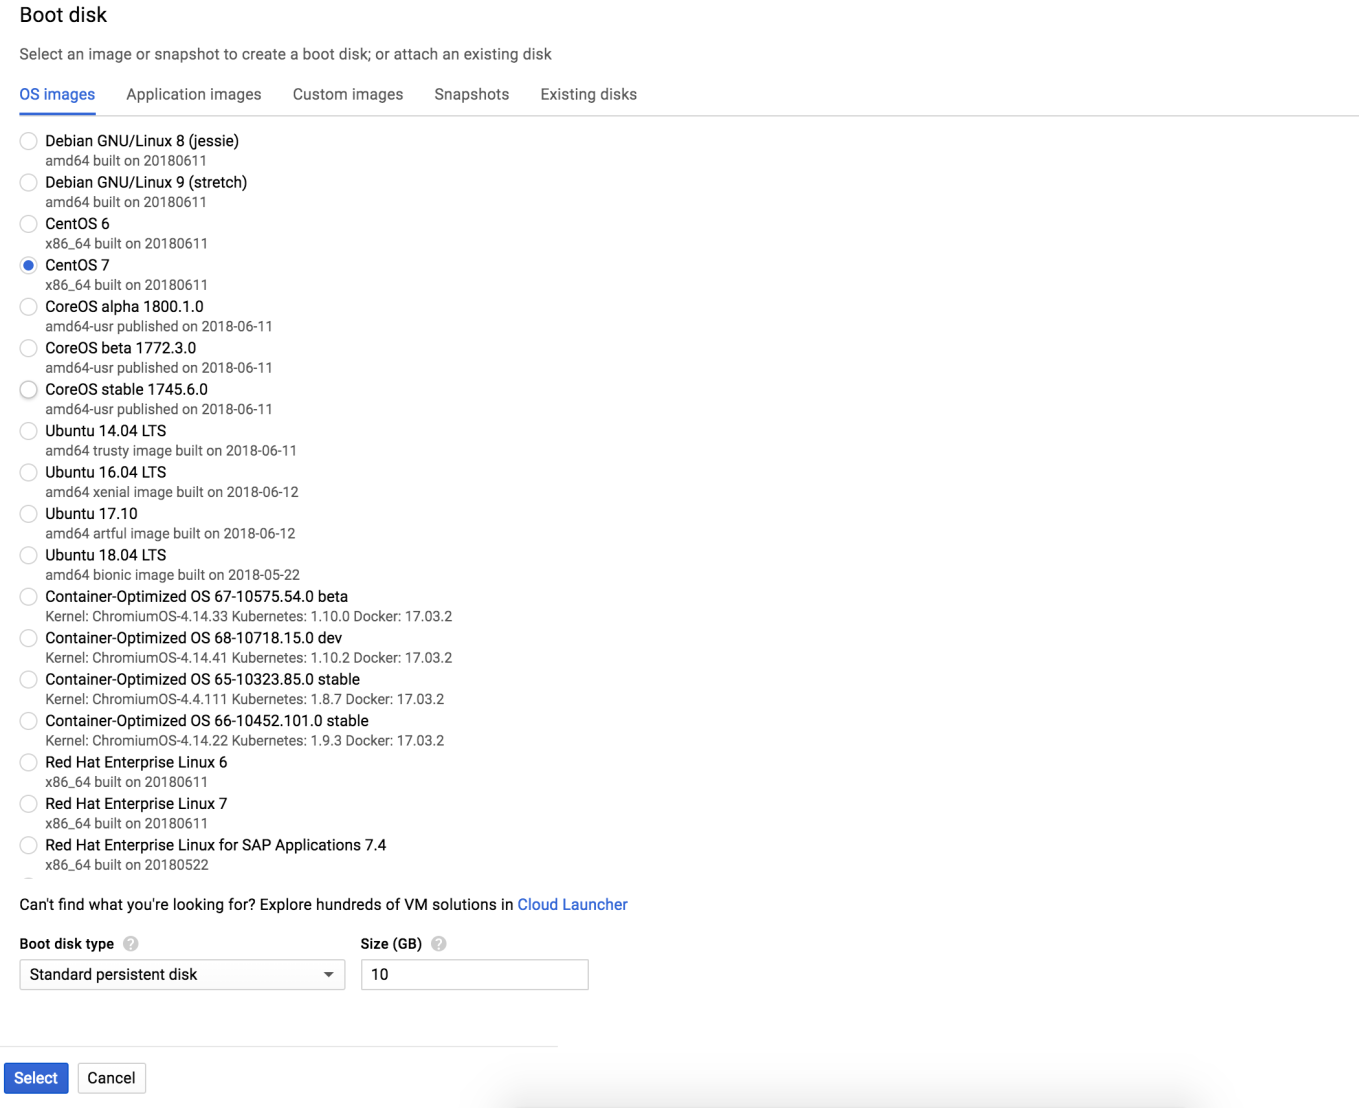
Step-04: Select OS
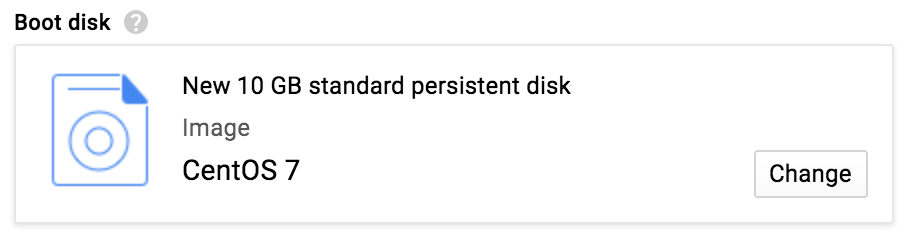
Step-05: Verify the Instance

Step-06: Add the DNS configuration

Step-07: Login to the Server

Step-08: Install pre-requisites and update cache

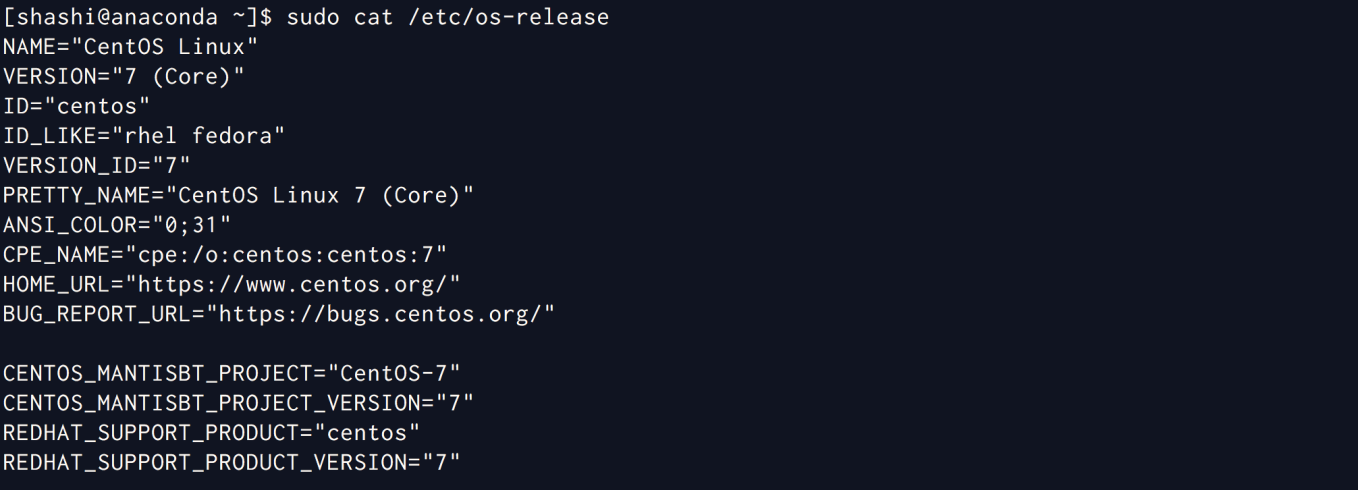
Step-09: Verify the OS release
Step-10: Done – Setting up the instance is completed
-==&&==-
-== Part-02: Installing & configuring Anaconda - Traditional ==-
Step-01: Download the Anaconda Python distribution
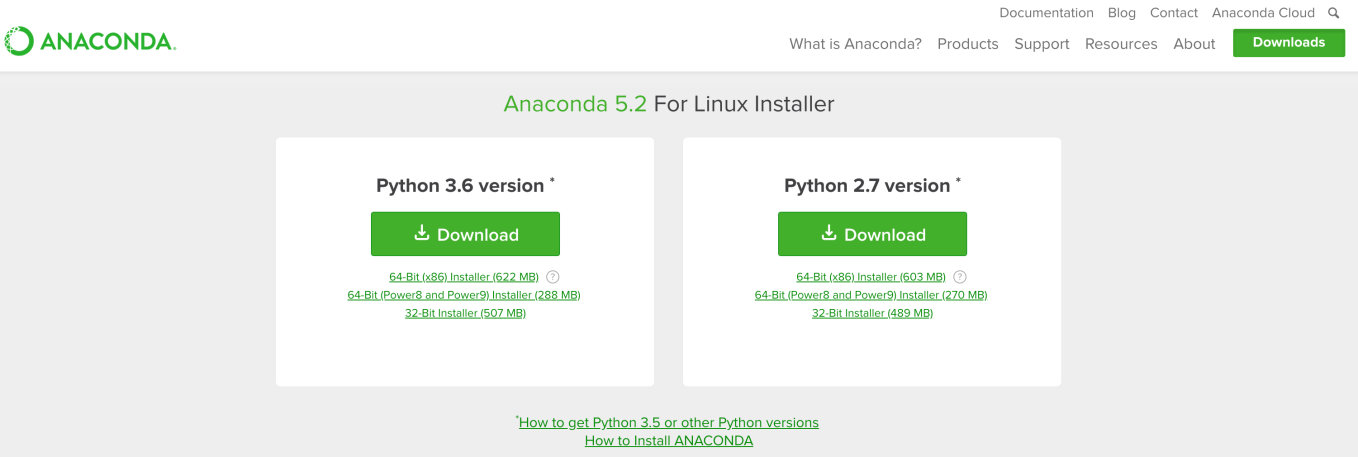
Step-02: Python 2.7.x will be used in this guide

Step-03: Create the directory structure for installation

Step-04: Install Anaconda Distribution

Step-05: Accept the License

Step-06: Select the Installation Path

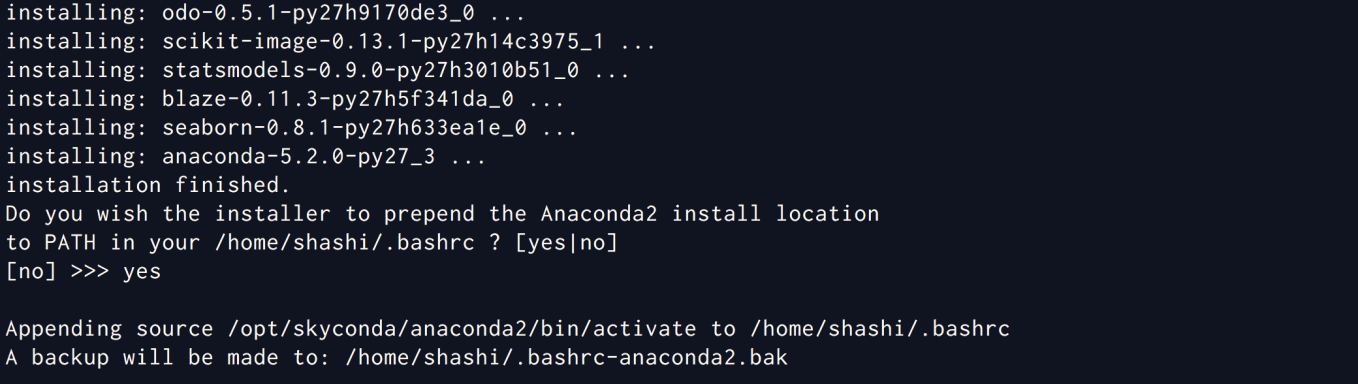
Step-07: Add to the PATH variable
Step-08: Do not install VS Code

Step-09: Verify Anaconda installation

–==&&==-
-== Part-03: Updating and Upgrading Anaconda Distribution ==-
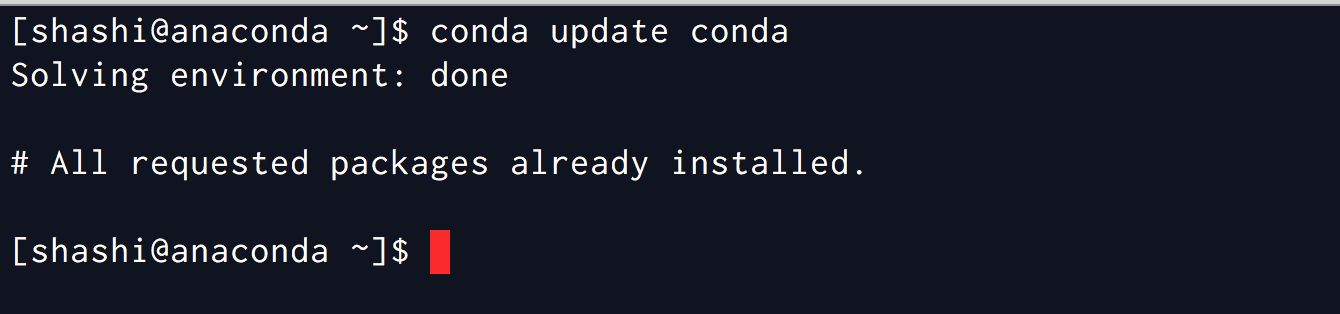
Step-01: Updating Conda
Step-02: Update Anaconda

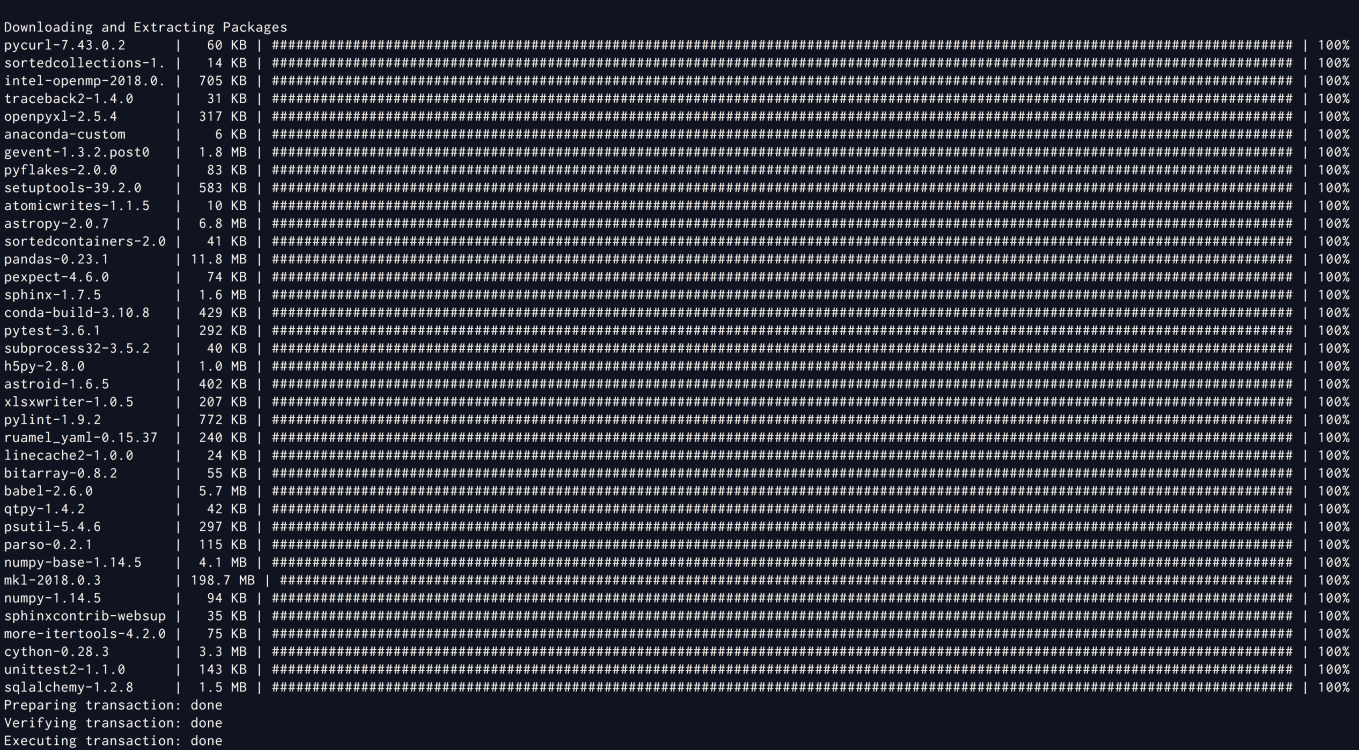
Step-03: Update All Packages

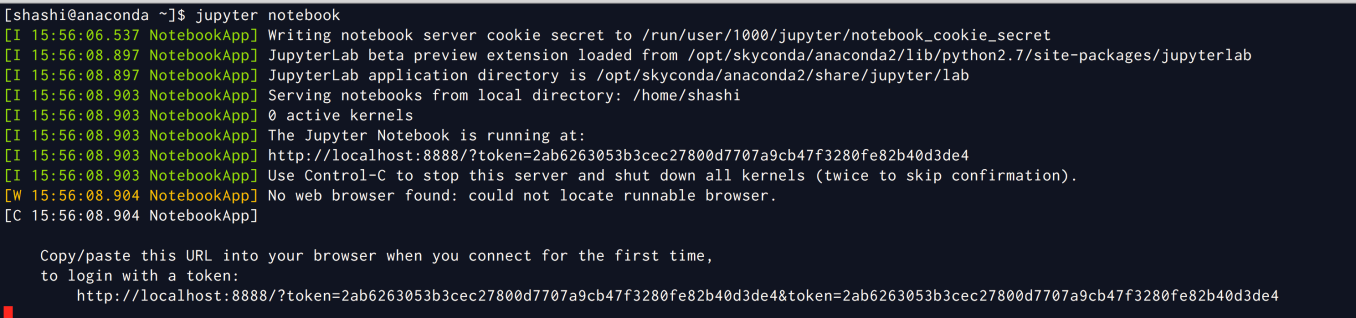
Step-04: Testing Jupyter Notebooks
-==&&==-
